
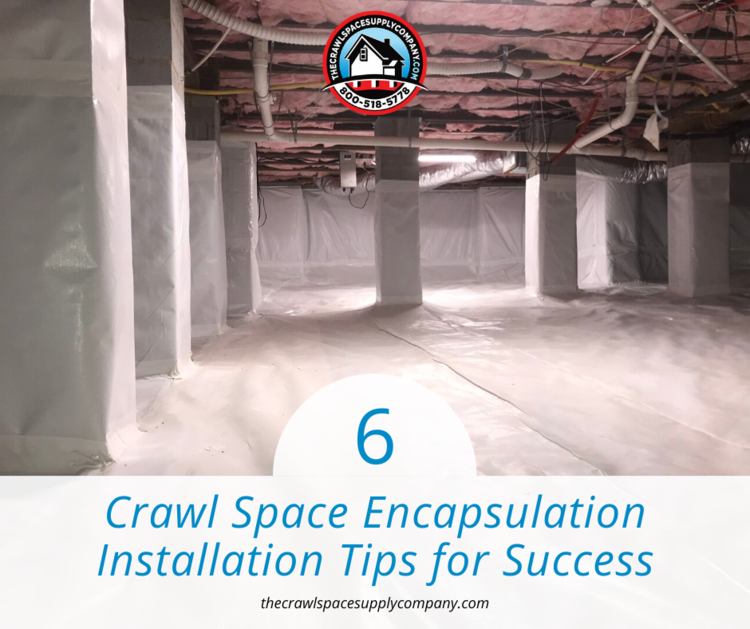
6 Crawl Space Encapsulation Installation Tips for Success
If you’re ready to finally get rid of that smell that wafts up from below, get rid of the critters that have made a home there, and get some big energy savings, encapsulation may be the right choice for your crawl space.
To get the longest lifespan possible out of your crawl space encapsulation products, follow our 6 tips for successful installation below.
ASSESS YOUR CRAWL SPACE
Before you install anything, it’s critical that you start by properly preparing your crawl space. The better the preparation, the better (and longer) your work will last.
1. MAKE SURE THERE IS NO STANDING WATER.
First things first, make sure that there is no standing water in your crawl space. If there is, do not enter and call a professional to help remove the water. You don’t want to risk potential electrocution once you get more lighting in the area.
2. LIGHT YOUR CRAWL SPACE AND CHECK EVERYTHING YOU CAN SEE.
Many crawl spaces don’t have lighting installed, so you’ll need to set up lighting to see every nook and cranny. Once you can see everything, check for any visible issues with pipes, electrical lines, and so on.
Not only should there not be any cracks or corrosion in piping or breaks in wires, but everything should be properly adhered to the structure of the home. Don’t forget to look for any rotting wood or cracks in the foundation of your home. Lastly, find the source of any odors you may smell to ensure there aren’t issues with mold. Now is the perfect time to repair any issues you see.
3. CLEAN AND PREP THE AREA.
If it’s been a while since your house was built or since you’ve had any crawl space work done, you might find that your crawl space needs some good TLC. You’ll likely find old building debris, along with creatures who have decided to make a home under yours.
Remove everything that isn’t dirt or part of the structure of your home, including rocks that could puncture any liners you plan to install. Bring in a bucket to help you gather and carry everything out, then ensure the ground is level. If not, rake or grade the dirt to make it as level as possible.
CRAWL SPACE ENCAPSULATION INSTALLATION
Now that you have your crawl space properly prepped, it’s time to start encapsulating it.
4. DETERMINE HOW THE AIR WILL BE CONDITIONED.
Since you’ve decided on encapsulating your crawl space, your first decision is how the air will be conditioned. Not only will unconditioned air render your encapsulation work useless, it’s also against building code.
Conditioning the air can be accomplished using a dehumidifier or your existing air conditioning or central air unit. Choosing the location for the conditioning unit and how it will be installed in your crawl space will ultimately affect the encapsulation process, so be sure to make this decision early on!
5. GO IN THE RIGHT ORDER.
To save time and resources, it’s important to install your encapsulation products in the proper order. Seal the areas in your crawl space as follows:
Walls
Pipes
Columns
Floor
This order will ensure the best coverage and the best use of all products.
6. IDENTIFY WHAT OPEN SPACES NEED TO BE SEALED.
One of the biggest factors in how effective your crawl space encapsulation will be is by how well you’re able to seal any openings. It’s crucial that no air enters the space so that it remains as dry as possible.
Be sure to check and properly seal the following:
Band joists
Plumbing penetrations
Sill plates
Vents
Wiring
Gaps (including between the home and crawl space) and other areas air can enter the space
Following these 6 tips will mean you’ll save valuable time and encapsulation products during your crawl space work.
And if you need to support your business with quality wholesale crawl space products, The Crawlspace Supply Company is here to help!